
How to Add More Games to Your R36S Retro Handheld
Share
How to Add More Games to Your R36S Retro Handheld
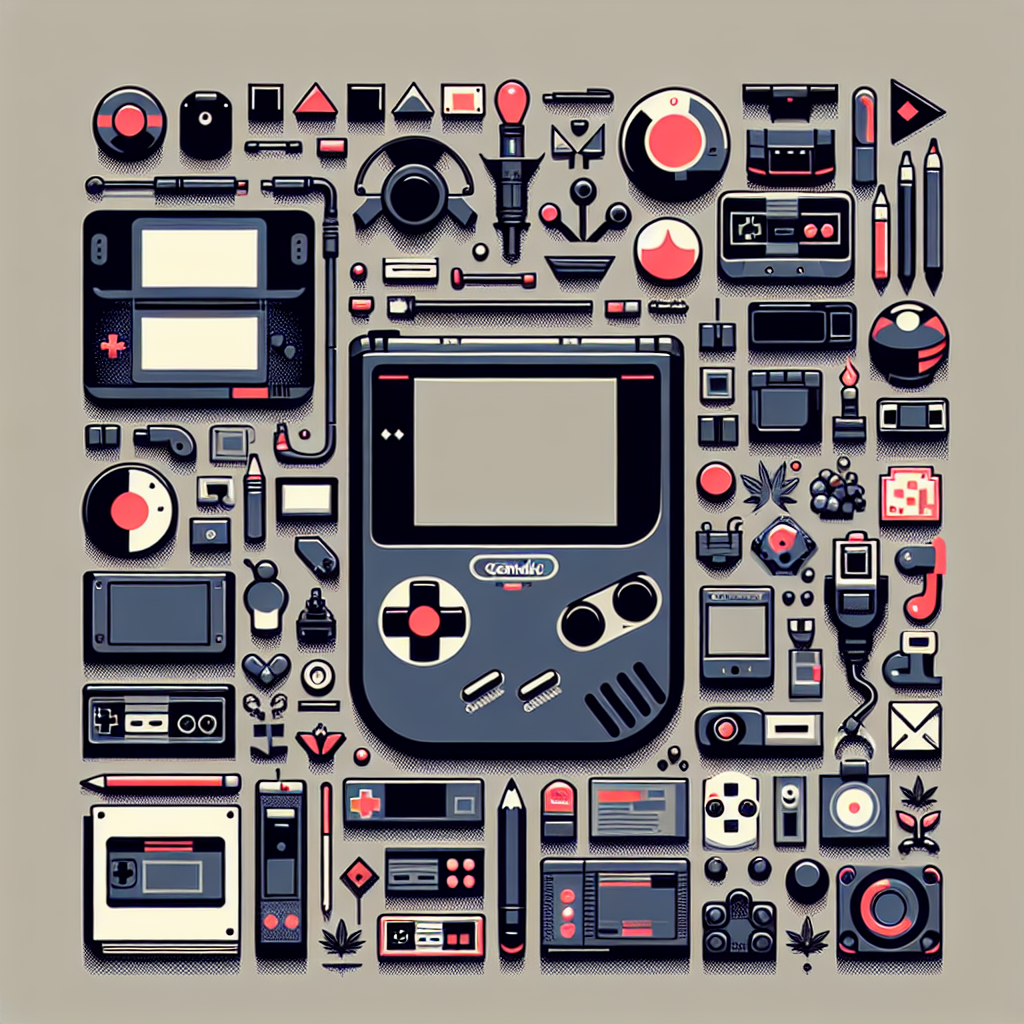
The R36S Retro Handheld Game Console is a must-have device for retro gaming enthusiasts who want portability and variety. With built-in emulators and a vibrant 3.5-inch IPS screen, it offers thousands of classic games right out of the box. But what if you want to take your experience further? In this guide, we'll show you exactly how to add games to your R36S, step by step.
What You’ll Need
Before you begin, make sure you have the essentials ready:
- Your R36S Retro Handheld Game Console
- A microSD card (64GB or 128GB recommended)
- A card reader or USB adapter to connect the microSD card to your computer
- A PC or Mac
Step 1: Understand the File Structure
When you first insert your microSD card into your computer, you'll see it contains different folders organized by console or emulator type (e.g., NES, SNES, GBA, PS1, etc.). These folders are crucial because the R36S looks for ROMs in specific directories based on the system you're emulating.
Do not delete or rename these folders. If you're unsure where a game file should go, look for a similarly named folder in the SD card's root directory.
Step 2: Download Your ROMs
ROMs are digital copies of games and are widely available online. Always ensure you are downloading legally obtained and free-to-distribute ROMs. Avoid copyrighted content unless you own the original game.
Many retro-friendly communities and websites offer ROMs for legal public domain games. Some reputable sources include:
- PDROMs – Open-source and homebrew games
- Internet Archive Arcade – Classic arcade machine ROMs
- FreeROMS – Legal demos and shareware titles
Step 3: Transfer Games to the Correct Folder
- Connect your microSD card to your computer using a card reader.
- Locate the appropriate emulator folder on the microSD card. For example, NES games should be placed in the
roms/nesfolder. - Drag and drop your downloaded .nes, .gba, .sfc, .bin, or applicable ROM files into the matching directory.
- Safely eject the microSD card from your computer.
It’s important to ensure that the file extensions are compatible with each emulator. For example, Game Boy Advance games will typically use the .gba extension, while PlayStation 1 games often use .bin/.cue files.
Step 4: Boot Up and Play
Insert the microSD card back into your R36S and power it on. Navigate through the Linux-based UI to the emulator you're interested in. If everything was done correctly, your new games should appear in the list. Simply select and play.
Optional: Use EmulationStation for Better Organization
The R36S often comes with or supports EmulationStation, a sleek frontend that organizes your game library with box art and game metadata. To enable this feature:
- Use tools such as Skraper or Universal Rom Tools to scrape artwork and descriptions.
- Ensure your folder names and game names match known databases for accurate results.
- Transfer the scraped metadata alongside your ROMs following the directory structure provided by EmulationStation.
This step isn’t mandatory but it really enhances the experience with artwork and a better visual layout.
Tips and Warnings
- Always back up your microSD card before making major changes.
- Some ROMs may not be compatible with your emulator versions. If you encounter issues, try sourcing different ROM versions.
- Keep your firmware and emulators up to date for improved compatibility.
- Use genuine microSD cards to avoid file corruption or slow performance.
Enhance Your Gaming Library Today
The R36S Retro Handheld Game Console is a powerhouse of retro gaming capabilities—and now that you know how to add games to the R36S, the possibilities are limitless. Whether you’re diving into forgotten titles from your youth or discovering old school classics for the first time, expanding your game library ensures your gaming adventures never get stale.
Why the R36S is Ideal for Custom Libraries
Unlike many plug-and-play options, the R36S supports a wide array of file formats and emulator types, giving you the freedom to tailor your game selection. With storage options of up to 128GB and a powerful Linux-based system, it handles most retro consoles with ease, including PSP, N64, Dreamcast, and more.
It’s lightweight, pocket-sized, and built with a clear IPS screen, making it not just a novelty, but an essential gadget for any retro gaming collector.
Final Thoughts
Learning how to add games to the R36S opens the door to nearly limitless gaming opportunities. Whether you’re aiming to replay your childhood favorites or explore obscure indie and homebrew titles, the process is straightforward and rewarding. With careful organization and a little research, you'll have an unbeatable portable game collection at your fingertips.
Don’t yet own this amazing console? Explore the full features and buy your own R36S Retro Handheld Game Console today and start your retro gaming adventure in style.
Meta description: Learn how to add games to the R36S Retro Handheld Game Console with this step-by-step guide. Maximize your retro gaming collection today!